Quick Links
| Art 2017-2018 |
Using black tempera thinned with a small amount of water, paint at least 2 tree silhouettes on your Springtime Impressionism art project. You can paint a few brush brances on the bottom also. |
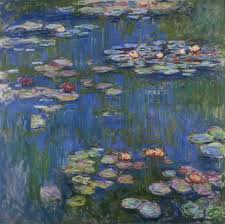 Monet's "Water Lillies"
Please have the hills on your Springtime Monet-Type Landscape finished. (Use green, blue and white tempera paint.) |
1. Take out your Taj Mahal art project and compare it to the one on the White Board. Figure out how you can correct your watercolor. 2. Using the pan watercolors, correct the sky, the Taj Mahall, etc. 3. Using the pastels, add shading to your trees, the building, etc. 4. Outline your art project with black Sharpie. |
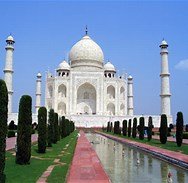 The Taj Mahal
We will be resuming Art Class on January 23, 2018 at 2:00 PM. Please have your Taj Mahal ready to paint. |
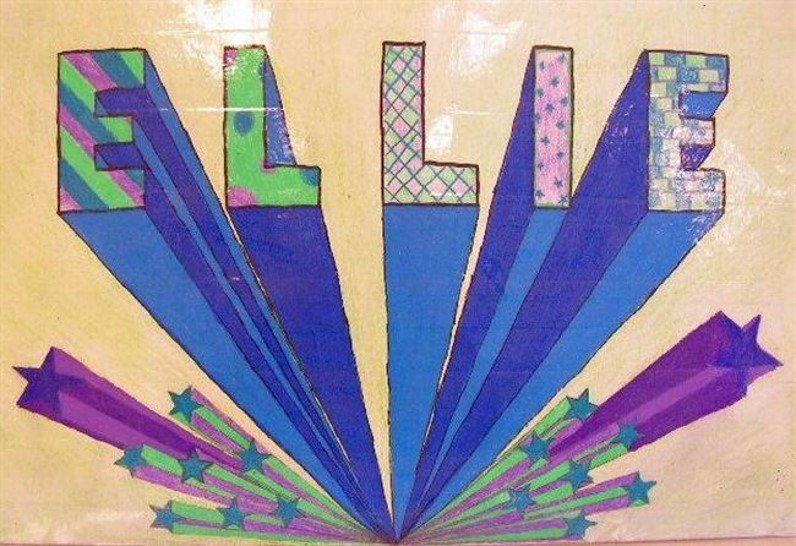
1. After you have traced your name using the block letters handout, use your ruler to make guidelines from the edges of your letters to the vanishing point......just like we did when we were practicing 1 point perspective. 2. Add shading and shadows to the dimensional letters to really make it pop. 3. You can add patterns or pictures or whatever you like around your name, in the shadows or on the letters. 4. Have fun! |
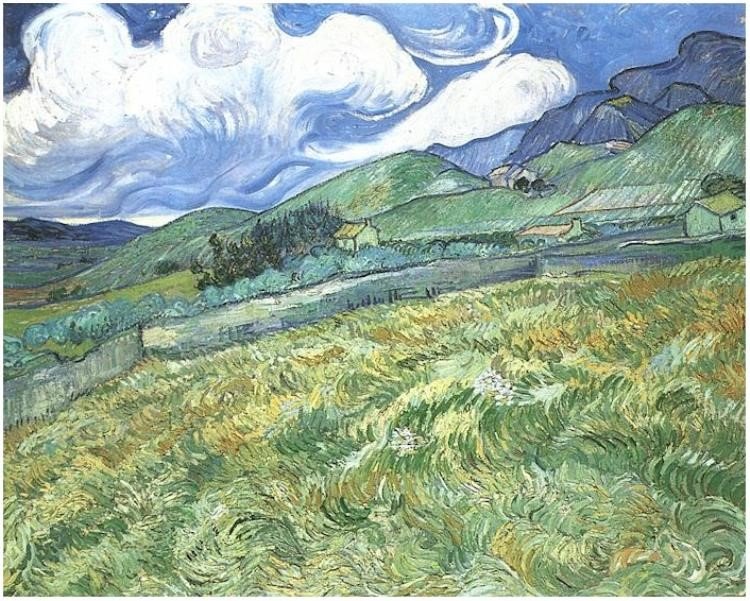 Vincent van Gogh's "Mountainous Landscape."
Finish up your Sunflowers in a Field art project. Make sure that the flowers have stems and the ones in the foreground also have leaves. You may add insects, etc. |
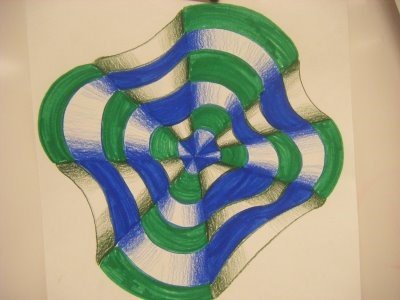 Optical Illusion
Your art project is called Optical Illusion Art. 1. Draw a dot in the middle of your paper. 2. From that dot draw out 8 lines. 3. Connect every other line with arcs (convex lines), so that it appears to bubble.) 4. Now draw concave lines that touch the rounded lines on every other line. 5. Choose 2 markers and 2 colored pencils. Alternate with these colors using your markers. 6. Then shade the whites with the color next to it. Use your colored pencils on this part. 7. Outline with your black Sharpies. 8. Cut out your art project. 9. Have fun! |
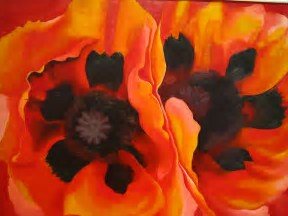 Red Poppies by Georgia O'Keeffe
1. On your 5x7 piece of blue cardstock, draw a line down the center using a black oil pastel. 2. Add jagged lines to indicate cracks in the rocks. 3. Add some white oil pastel around the black cracks. 4. Glue your Model Magic skull on the rocks. 5. Make a tissue paper flower. 6. Glue the flower to the art work. 7. If you want to make your skull appear aged, put some brown pastel on your finger and rub it over the skull. 8. Look at your notes for today. |
1. Draw one or more radial flowers on your half sheet of white construction paper. 2. Color in your flower or flowers. You may use tints, shades, primary colors, secondary colors, tertiary colors, etc. Use shading . 3. You may make a border, background, etc....whatever you like. 3. Outline your flowers with black Sharpies. |